So, you’ve got an antifreeze leak on your hands, huh? Don’t panic—this is more common than you think. Antifreeze leaks can be a real pain in the neck, but they’re definitely fixable with the right approach. Whether you’re a seasoned mechanic or a total newbie, understanding how to tackle this issue can save you both time and money. And trust me, nobody likes being ripped off at the repair shop!
Look, antifreeze leaks might seem like a small problem, but they can lead to some serious consequences if left unchecked. Your car’s cooling system relies on antifreeze to keep everything running smoothly, so when it starts leaking, your engine could overheat—and nobody wants that. In this guide, we’ll break down everything you need to know about antifreeze leak repair, from identifying the problem to fixing it like a pro.
We’re going to dive deep into the nitty-gritty of antifreeze leaks, covering everything from the signs to watch out for to step-by-step repair solutions. By the end of this article, you’ll have all the tools and knowledge you need to handle this issue confidently. So buckle up, grab a coffee, and let’s get started!
Read also:Hdhub4u Netflix Watch Movies Shows In Hd
Understanding Antifreeze Leak Repair: Why It Matters
Alright, let’s talk about why antifreeze leak repair is such a big deal. Your car’s cooling system is kind of like its lifeblood—it keeps the engine running at the right temperature. When antifreeze starts leaking, it disrupts this balance, and things can go south pretty quickly. Not only does it affect performance, but it can also lead to costly repairs if you don’t address the issue early on.
Here’s the deal: antifreeze leaks don’t just happen out of nowhere. They’re usually caused by wear and tear, damaged components, or improper maintenance. Recognizing the signs early can help you avoid bigger headaches down the road. Plus, fixing an antifreeze leak yourself isn’t as intimidating as it sounds. With the right tools and a bit of know-how, you can save yourself a ton of cash and gain some valuable skills.
Common Signs of an Antifreeze Leak
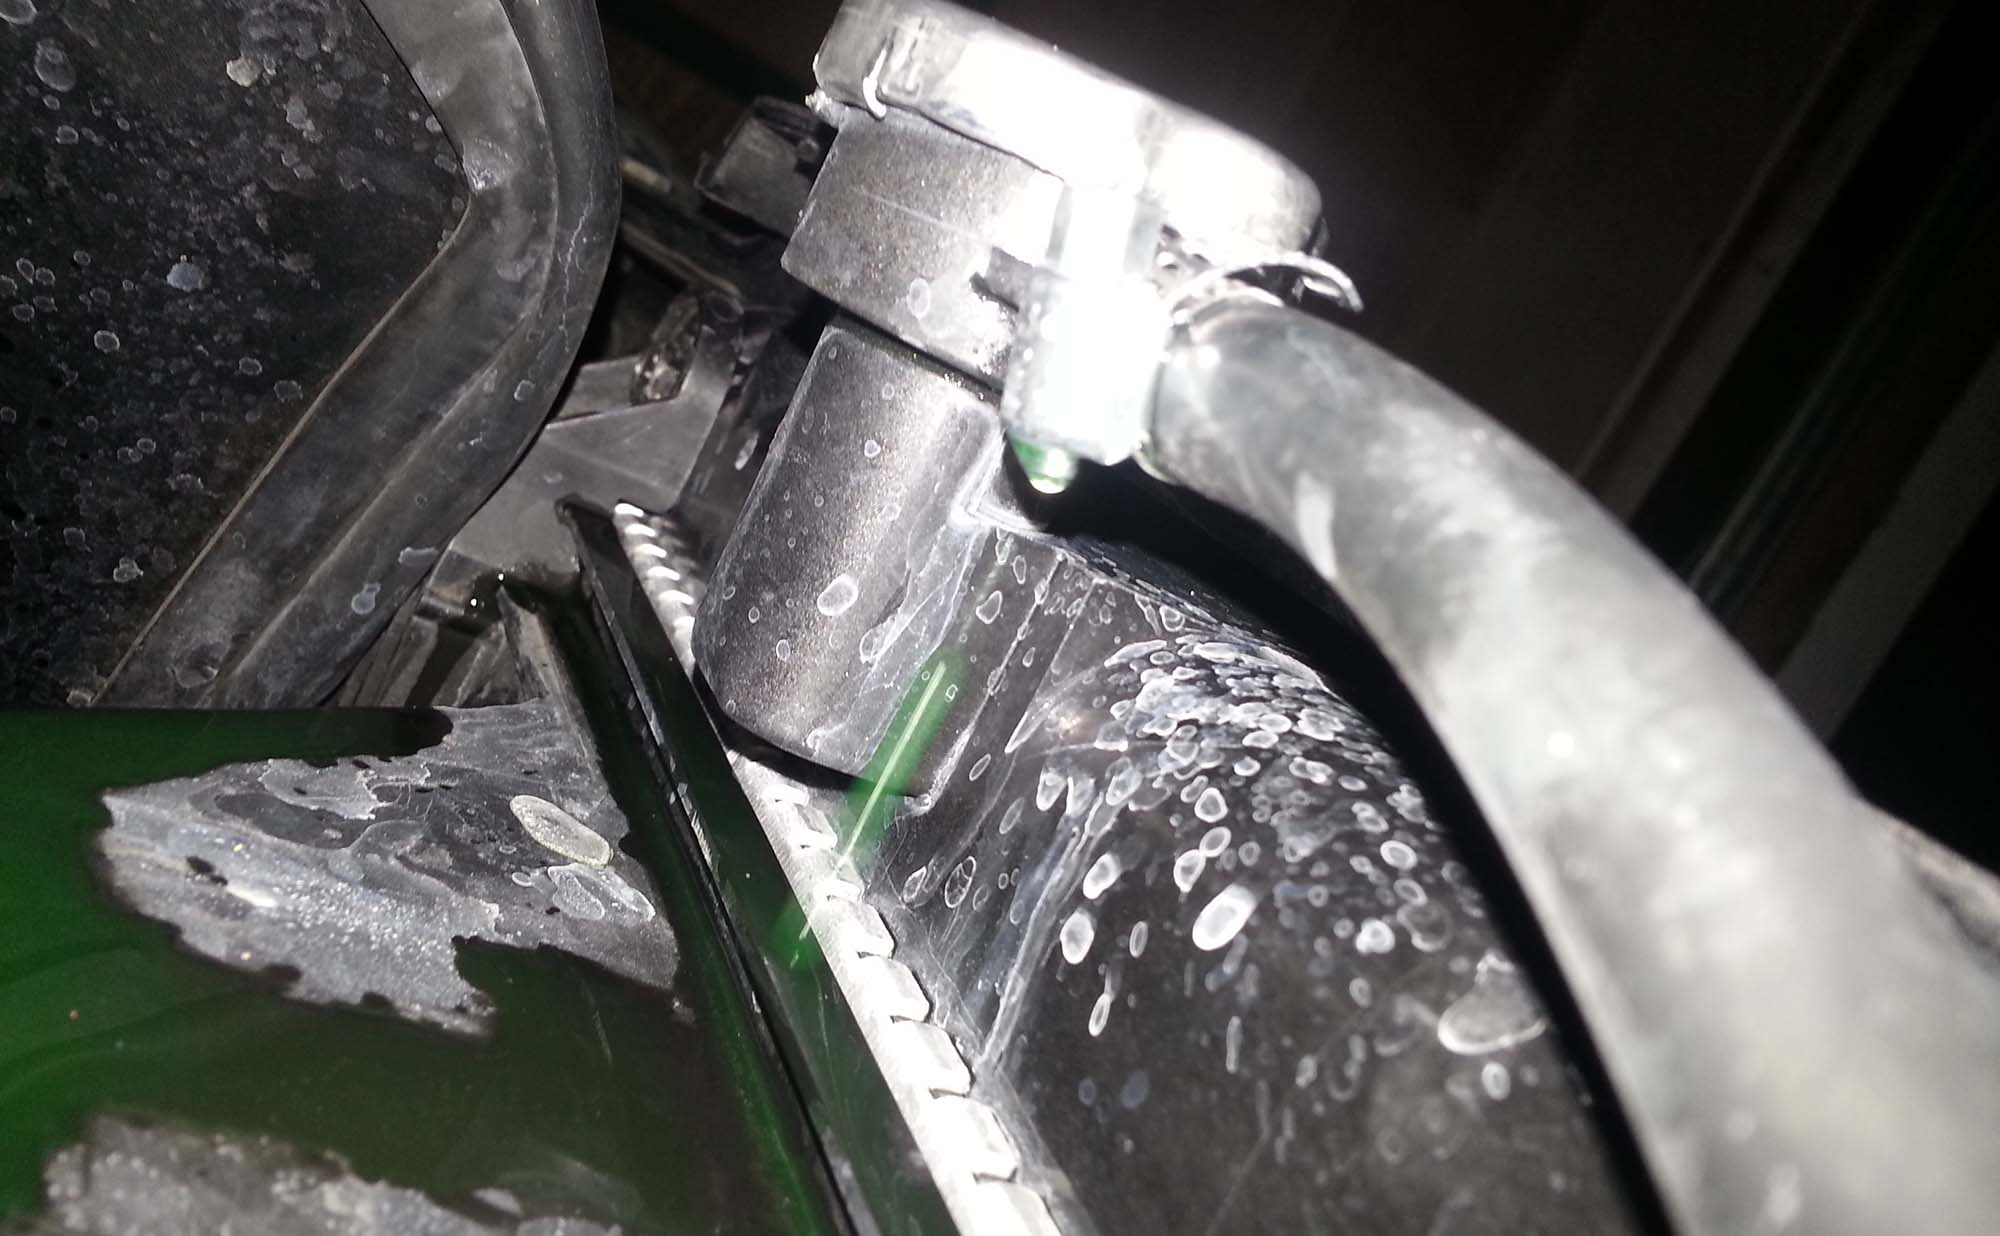
Before you can fix the problem, you need to know what to look for. Antifreeze leaks don’t always scream “Hey, I’m here!” Sometimes, they’re sneaky little buggers that creep up on you. Here are a few common signs to watch out for:
- Visible puddles of green, orange, or pink liquid under your car
- A sweet, syrup-like smell coming from your engine bay
- Overheating engine
- Low coolant levels in the overflow tank
- Warning lights on your dashboard
If you notice any of these signs, it’s time to take action. Ignoring them could lead to bigger problems, like a blown head gasket or a cracked engine block. Yikes!
Causes of Antifreeze Leaks: What’s Really Going On?
Now that you know what to look for, let’s talk about why antifreeze leaks happen in the first place. There are several potential culprits, and identifying the root cause is key to fixing the issue properly. Here are some of the most common causes:
1. Damaged Hoses
Rubber hoses in your cooling system can degrade over time, leading to cracks and leaks. If you notice any soft spots or visible damage, it’s time to replace them.
Read also:Hd Hub 4 U Movies Latest Releases Best Action
2. Faulty Radiator
Your radiator plays a crucial role in keeping your engine cool. If it’s damaged or clogged, it can cause leaks and reduce efficiency. Inspect it regularly for signs of corrosion or leaks.
3. Blown Head Gasket
A blown head gasket is one of the worst-case scenarios when it comes to antifreeze leaks. It can lead to coolant entering the combustion chamber, causing all sorts of problems. If you suspect a blown head gasket, get it checked by a professional ASAP.
Tools You’ll Need for Antifreeze Leak Repair
Before you dive into the repair process, you’ll need to gather a few essential tools. Having the right gear makes the job much easier and ensures you get it done right the first time. Here’s a list of what you’ll need:
- Socket wrench set
- Replacement hoses and clamps
- New radiator cap
- Antifreeze (make sure it’s compatible with your vehicle)
- Gloves and safety goggles
Pro tip: Always consult your vehicle’s manual to ensure you’re using the correct parts and tools. Trust me, it’ll save you a lot of hassle in the long run.
Step-by-Step Guide to Antifreeze Leak Repair
Now that you’ve got your tools ready, let’s walk through the repair process step by step. This guide assumes you’ve already identified the source of the leak, so we’ll focus on fixing it. Ready? Let’s go!
Step 1: Locate the Leak
The first step is to pinpoint the exact location of the leak. This might sound obvious, but it’s crucial to getting the repair right. Look for signs of corrosion, cracks, or loose fittings. Sometimes, the leak might be coming from a place you didn’t expect.
Step 2: Drain the Coolant
Once you’ve found the source of the leak, it’s time to drain the old coolant. Make sure your car is parked on a flat surface and let the engine cool down before you start. Use a drain pan to collect the old coolant and dispose of it properly.
Step 3: Replace Damaged Components
Depending on the cause of the leak, you might need to replace hoses, clamps, or even the radiator. Make sure everything is tightened securely and double-check for any signs of damage before moving on.
Step 4: Refill the System
With the repairs complete, it’s time to refill your cooling system with fresh antifreeze. Follow the manufacturer’s recommendations for the correct mixture of coolant and water. Overfilling can cause pressure buildup, so be careful not to go overboard.
Step 5: Test Drive
Once everything’s back in place, take your car for a short test drive. Keep an eye on the temperature gauge and listen for any unusual noises. If everything checks out, you’re good to go!
Preventing Future Antifreeze Leaks
Fixing an antifreeze leak is great, but preventing future issues is even better. Regular maintenance is key to keeping your car’s cooling system in tip-top shape. Here are a few tips to help you avoid leaks in the future:
- Check your coolant levels regularly
- Inspect hoses and fittings for signs of wear
- Replace your radiator cap every few years
- Follow your vehicle’s maintenance schedule
By staying on top of maintenance, you can catch potential problems before they turn into costly repairs. Plus, it’ll keep your car running smoothly for years to come.
Cost of Antifreeze Leak Repair
Let’s talk about the elephant in the room: how much is this going to cost you? The price of antifreeze leak repair can vary depending on the severity of the issue and the parts involved. Here’s a rough breakdown of what you might expect to pay:
- Hose replacement: $50–$150
- Radiator repair: $200–$500
- Head gasket replacement: $1,000–$2,000
As you can see, catching the problem early can save you a ton of money. DIY repairs are also a great way to keep costs down, but make sure you’re comfortable with the process before diving in.
When to Call a Professional
While many antifreeze leaks can be fixed at home, there are times when it’s best to call in the experts. If you’re dealing with a blown head gasket or a major radiator issue, it might be worth leaving it to the pros. Here are a few signs that it’s time to seek professional help:
- Recurring leaks despite repairs
- Visible damage to the engine block
- Unusual noises or vibrations
Don’t be afraid to ask for help if you’re unsure—better safe than sorry!
Tips for Choosing the Right Antifreeze
Not all antifreeze is created equal, so it’s important to choose the right one for your vehicle. Here are a few things to keep in mind:
- Check your owner’s manual for the recommended type
- Look for antifreeze that’s compatible with your cooling system
- Avoid mixing different types of coolant unless absolutely necessary
Using the wrong antifreeze can cause all sorts of problems, so take the time to get it right.
Conclusion: Take Control of Your Antifreeze Leak Repair
And there you have it—a comprehensive guide to antifreeze leak repair. Whether you’re fixing a simple hose issue or tackling a more complex problem, the key is to stay calm and methodical. By following the steps outlined in this article, you’ll be well on your way to keeping your car’s cooling system in top condition.
Remember, regular maintenance is your best defense against antifreeze leaks. Keep an eye on your coolant levels, inspect your hoses regularly, and don’t hesitate to seek professional help if you’re unsure. And most importantly, don’t let a small issue turn into a big headache—act fast and take control!
Got questions or tips of your own? Drop a comment below and let’s keep the conversation going. And while you’re at it, why not share this article with a friend who might find it useful? Together, we can help every driver master the art of antifreeze leak repair!
Table of Contents
- Understanding Antifreeze Leak Repair: Why It Matters
- Common Signs of an Antifreeze Leak
- Causes of Antifreeze Leaks: What’s Really Going On?
- Tools You’ll Need for Antifreeze Leak Repair
- Step-by-Step Guide to Antifreeze Leak Repair
- Preventing Future Antifreeze Leaks
- Cost of Antifreeze Leak Repair
- When to Call a Professional
- Tips for Choosing the Right Antifreeze
- Conclusion: Take Control of Your Antifreeze Leak Repair