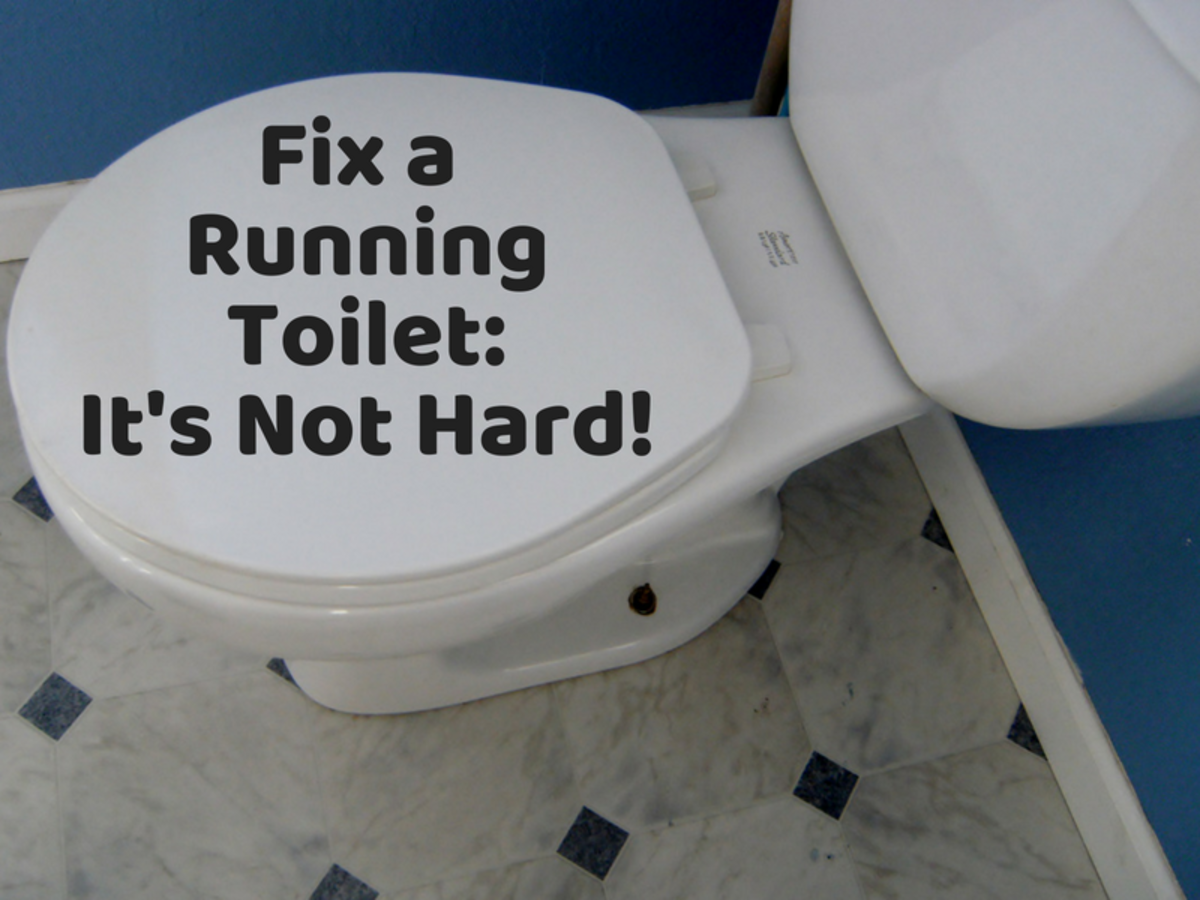
Listen up, friends. We’ve all been there—waking up in the middle of the night to that dreaded dripping sound, wondering, "Is my toilet leaking?" Well, guess what? You’re not alone. A leaking toilet is one of the most common plumbing issues homeowners face, but here's the good news: fixing it doesn’t have to be as scary or complicated as you might think. How to fix a leaking toilet is something you can handle yourself with the right tools, a bit of patience, and this ultimate guide.
Now, before you panic and call a plumber, take a deep breath. Most toilet leaks are caused by simple issues that you can easily fix on your own. Not only will you save yourself some serious cash, but you'll also gain a sense of accomplishment that comes with tackling a home repair project. Plus, fixing a leaking toilet isn’t just about saving money—it’s about saving water. A small leak can waste hundreds of gallons of water over time, and that’s not just bad for your wallet; it’s bad for the planet too.
So, whether you’re a seasoned DIYer or a first-timer looking to dip your toes into the world of plumbing, this article has got you covered. From identifying the source of the leak to performing the actual fix, we’ll walk you through everything you need to know. Let’s dive in and get that toilet back in working order!
Read also:Latest Kannada Movies 2024 Download Movierulz Max
Table of Contents
- Understanding the Problem: What Causes a Leaking Toilet?
- Gathering Your Tools: What You’ll Need to Fix a Leaking Toilet
- Identifying the Leak: Where Is It Coming From?
- Fixing a Flapper Leak: The Most Common Culprit
- Troubleshooting the Fill Valve: Could This Be the Issue?
- Checking the Wax Seal: A Crucial Step
- Fixing a Leak in the Toilet Bowl
- Addressing Tank Leaks: Tips and Tricks
- Inspecting the Pipes: Could They Be the Source?
- Preventing Future Leaks: Maintenance Tips
Understanding the Problem: What Causes a Leaking Toilet?
Alright, let’s break it down. A leaking toilet isn’t just annoying—it can also lead to bigger problems if left unchecked. But what exactly causes a toilet to leak? Well, there are several potential culprits, and understanding them is the first step toward fixing the issue. Here are some of the most common reasons why your toilet might be leaking:
- Worn-out flapper valve: This little rubber piece inside your toilet tank is responsible for controlling water flow. Over time, it can degrade and cause leaks.
- Malfunctioning fill valve: If the fill valve isn’t working properly, it can lead to water constantly running into the overflow tube.
- Damaged wax seal: The wax seal under the toilet base is what keeps water from leaking out. If it gets old or cracked, you’ll start noticing puddles around the base.
- Cracked porcelain: In some cases, the actual toilet bowl or tank might have a crack, which can lead to persistent leaks.
According to the Environmental Protection Agency (EPA), a single leaking toilet can waste up to 200 gallons of water per day. That’s a lot of wasted resources! By understanding the root cause of your toilet leak, you’ll be better equipped to tackle the problem head-on.
How to Fix a Leaking Toilet: Start with the Basics
Before we dive into specific fixes, it’s important to remember that the key to solving any plumbing issue is starting with the basics. Turn off the water supply to your toilet, flush the tank to drain it, and make sure you have a clean workspace. These small steps can save you a lot of hassle later on.
Gathering Your Tools: What You’ll Need to Fix a Leaking Toilet
When it comes to fixing a leaking toilet, having the right tools makes all the difference. You don’t need to break the bank buying fancy equipment—just a few essentials will do the trick. Here’s a list of tools you’ll need:
- Plunger: Not just for clogs, a plunger can help you test for leaks in the bowl.
- Adjustable wrench: Perfect for tightening bolts and adjusting valves.
- Screwdriver: For removing the toilet tank lid and other small parts.
- Food coloring: Believe it or not, food coloring is a great way to detect leaks in the tank.
- Replacement parts: Depending on the issue, you might need a new flapper, fill valve, or wax seal.
Pro tip: Always keep a bucket and towels handy to catch any water spills during the repair process. Trust me, it’ll save you from a soggy mess later!
Identifying the Leak: Where Is It Coming From?
Now that you’ve got your tools ready, it’s time to figure out where the leak is coming from. This is arguably the most important step in the process. After all, you can’t fix the problem if you don’t know what’s causing it. Here are a few common areas to check:
Read also:Best Desi Imms Top Desi Imms Services
1. The Toilet Tank
Is water leaking from the tank into the bowl or onto the floor? This could indicate a problem with the flapper valve or fill valve. Use food coloring to test for leaks: add a few drops to the tank and wait 15 minutes. If the water in the bowl turns the same color, you’ve got a flapper issue.
2. The Toilet Base
If you notice water pooling around the base of the toilet, it’s likely due to a damaged wax seal. This is a common issue, especially in older homes where the seal may have degraded over time.
3. The Supply Line
Check the connection between the water supply line and the bottom of the tank. If it’s loose or corroded, it could be the source of the leak. Tighten the connection with an adjustable wrench to see if that resolves the issue.
How to Fix a Leaking Toilet: Narrow Down the Source
Once you’ve identified the source of the leak, you’ll be in a much better position to fix it. Don’t skip this step—it’ll save you time and frustration in the long run.
Fixing a Flapper Leak: The Most Common Culprit
Let’s face it: the flapper valve is probably the most common reason for a leaking toilet. This little rubber flap controls the flow of water from the tank to the bowl, and over time, it can become worn out or misaligned. Here’s how to fix it:
Step 1: Turn off the water supply to the toilet and flush the tank to drain it.
Step 2: Remove the old flapper by unhooking it from the chain and lifting it off the flush valve.
Step 3: Take the old flapper to your local hardware store to find an exact match. Replacement flappers are inexpensive and easy to install.
Step 4: Attach the new flapper to the flush valve and reconnect the chain. Turn the water supply back on and test the toilet to ensure the leak is gone.
Replacing a flapper is one of the simplest fixes you can do, and it often resolves the issue entirely.
How to Fix a Leaking Toilet: Testing the Flapper
After installing the new flapper, it’s important to test the toilet thoroughly. Flush it a few times and listen for any unusual sounds. If the leak persists, you may need to investigate further.
Troubleshooting the Fill Valve: Could This Be the Issue?
Another common cause of toilet leaks is a malfunctioning fill valve. This component is responsible for refilling the tank after each flush, and if it’s not working properly, it can lead to water constantly running into the overflow tube. Here’s how to troubleshoot and fix it:
Step 1: Turn off the water supply and flush the tank to drain it.
Step 2: Disconnect the fill valve from the water supply line and remove it from the tank.
Step 3: Take the old fill valve to the store to find a compatible replacement. Installation is usually straightforward and can be done in under an hour.
Step 4: Reconnect the new fill valve, turn the water supply back on, and test the toilet to ensure the leak is resolved.
Remember, a properly functioning fill valve is crucial for maintaining water levels in the tank. If you’re unsure about replacing it yourself, don’t hesitate to call a professional.
Checking the Wax Seal: A Crucial Step
If you’re dealing with a leak around the base of the toilet, chances are the wax seal needs to be replaced. This is a bit more involved than replacing a flapper or fill valve, but it’s still a DIY-friendly project. Here’s how to do it:
Step 1: Turn off the water supply and empty the tank and bowl completely.
Step 2: Disconnect the water supply line and unscrew the bolts holding the toilet to the floor.
Step 3: Carefully lift the toilet off the base and remove the old wax seal. Dispose of it properly.
Step 4: Place a new wax seal on the toilet flange and reposition the toilet. Tighten the bolts securely but don’t overtighten, as this can crack the porcelain.
Step 5: Reconnect the water supply line, turn the water back on, and test the toilet for leaks.
Replacing the wax seal is a bit of a hassle, but it’s worth it to prevent water damage and mold growth.
How to Fix a Leaking Toilet: Preventing Wax Seal Issues
One way to extend the life of your wax seal is to avoid excessive weight on the toilet. Encourage family members to sit rather than stand on the toilet, and consider replacing the seal every 5-10 years as a preventive measure.
Fixing a Leak in the Toilet Bowl
Leaking toilet bowls are less common but can still happen, especially if there’s a crack in the porcelain. If you suspect a crack, here’s what you can do:
Step 1: Inspect the bowl carefully for visible cracks. If you find one, it’s usually best to replace the entire toilet rather than attempt a repair.
Step 2: If the crack is minor, you can try using a porcelain repair kit. These kits are available at most hardware stores and can temporarily seal small cracks.
Step 3: Keep an eye on the repair over time. If the crack worsens, it’s time to upgrade to a new toilet.
Replacing a toilet might seem daunting, but modern models are more efficient and stylish than ever. Plus, you’ll save water and reduce the risk of future leaks.
Addressing Tank Leaks: Tips and Tricks
Tank leaks can be tricky to diagnose, but they’re usually caused by one of three things: a faulty flapper, a malfunctioning fill valve, or a crack in the tank itself. Here’s how to address each scenario:
- Flapper issues: As we discussed earlier, replace the flapper if it’s worn out or misaligned.
- Fill valve problems: If the fill valve isn’t functioning properly, replace it with a new one.
- Tank cracks: If the tank itself is cracked, your best bet is to replace the entire toilet. Cracks can worsen over time and lead to more serious leaks.
Remember, prevention is key. Regularly inspect your toilet for signs of wear and tear, and address any issues promptly to avoid bigger problems down the road.
Inspecting the Pipes: Could They Be the Source?
While less common, leaks can also occur in the pipes connected to your toilet. If you suspect a pipe leak, here’s what to do:
Step 1: Turn off the main water supply to your home to