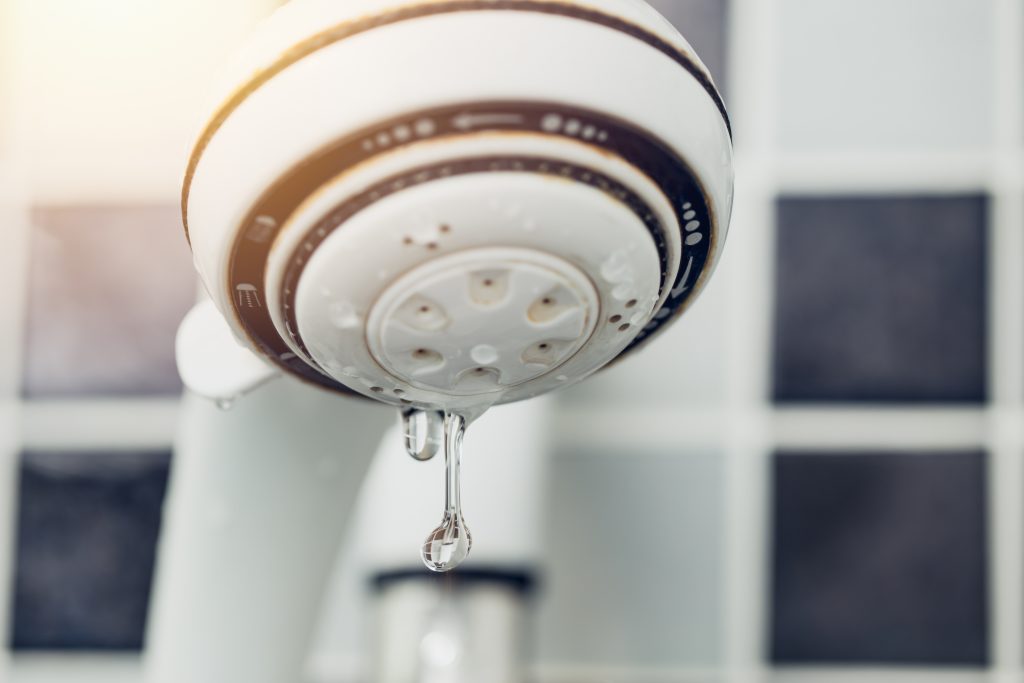
Ever been in the middle of a relaxing shower when suddenly you notice water dripping from the shower head itself? Yeah, it’s one of those moments that can ruin your vibe real quick. Shower head leaking from head is not just annoying—it’s also wasteful and can lead to bigger plumbing issues if left unchecked. But don’t freak out just yet; this problem is more common than you think, and fixing it isn’t as hard as it sounds.
Let’s face it: nobody wants to call a plumber every time something small goes wrong in their bathroom. Not only is it expensive, but it can also be a hassle when you’re trying to keep your schedule tight. That’s why learning how to fix a leaking shower head yourself is such a valuable skill. Plus, who doesn’t love saving some cash while feeling like a DIY pro?
In this article, we’ll break down everything you need to know about shower head leaking from head. We’ll cover the common causes, simple fixes, and even some preventive tips to make sure your shower stays drip-free. So grab a cup of coffee, and let’s dive into it!
Read also:Is Carrie Underwood Pregnant 2024 Update
Table of Contents
- Biography of Shower Heads
- Common Causes of Shower Head Leaks
- Tools You’ll Need
- How to Fix a Shower Head Leak
- Preventive Measures
- Cost Breakdown
- Tips for Maintaining Your Shower Head
- FAQs About Shower Head Leaks
- Alternative Solutions
- Conclusion
Biography of Shower Heads
Before we dive into the nitty-gritty of fixing a shower head leaking from head, let’s take a moment to appreciate these unsung heroes of our daily routines. Shower heads have come a long way since the days of basic metal nozzles. Today, they’re designed with advanced technology to provide optimal water flow, pressure, and even eco-friendly options.
Evolution of Shower Heads
Back in the day, shower heads were simple and straightforward. But as technology advanced, so did their design. Modern shower heads now feature adjustable spray patterns, temperature control, and even built-in filters to ensure clean water. Despite all these upgrades, leaks can still happen, which brings us back to our main topic.
Common Causes of Shower Head Leaks
So, why exactly does a shower head start leaking from the head? There are several reasons, and understanding them is key to finding the right solution. Here are the most common culprits:
- Loose Connections: Over time, the connections between the shower arm and the head can loosen, causing water to escape.
- Worn Out Washers: Rubber washers inside the shower head can degrade, leading to leaks.
- Mineral Buildup: Hard water can cause mineral deposits to form, blocking the flow and causing pressure leaks.
- Damaged O-Rings: These tiny rubber rings seal the connection between the shower arm and head. If they’re damaged, leaks are inevitable.
Tools You’ll Need
Fixing a shower head leak doesn’t require a lot of fancy equipment. Here’s a list of basic tools you’ll need:
- Wrench
- Screwdriver
- Replacement washers or O-rings
- Vinegar or descaler solution
- Teflon tape
Where to Get These Tools
Most of these items can be found at your local hardware store or even online. Make sure to check compatibility with your specific shower head model before purchasing any replacement parts.
How to Fix a Shower Head Leak
Now that we’ve covered the basics, let’s get into the step-by-step process of fixing a shower head leaking from head. Follow these instructions carefully to avoid further damage.
Read also:Anjali Arora Mms Viral Video Latest Updates
Step 1: Turn Off the Water Supply
This might seem obvious, but it’s crucial to turn off the water supply before starting any repairs. You don’t want to end up soaked in the middle of a DIY project!
Step 2: Remove the Shower Head
Using a wrench, gently unscrew the shower head from the shower arm. Be careful not to damage the threads or scratch the surface.
Step 3: Inspect for Damage
Take a close look at the internal components of the shower head. Check for worn-out washers, damaged O-rings, or mineral buildup. Replace any parts that appear faulty.
Step 4: Clean the Shower Head
Soak the shower head in a vinegar solution or use a descaler to remove any mineral deposits. This will help improve water flow and prevent future leaks.
Step 5: Reassemble and Test
Once everything is clean and repaired, reassemble the shower head and turn the water back on. Test it thoroughly to ensure the leak is gone.
Preventive Measures
Prevention is always better than cure, especially when it comes to plumbing issues. Here are a few tips to keep your shower head in tip-top shape:
- Regularly clean your shower head to prevent mineral buildup.
- Use Teflon tape on all threaded connections to ensure a tight seal.
- Invest in a water softener if you live in an area with hard water.
- Inspect your plumbing system periodically for signs of wear and tear.
Cost Breakdown
Fixing a shower head leak is generally inexpensive, especially if you do it yourself. Here’s a rough estimate of costs involved:
- Replacement washers or O-rings: $2-$5
- Descaler solution: $5-$10
- Teflon tape: $1-$3
Of course, these prices can vary depending on your location and the brand of products you choose.
Tips for Maintaining Your Shower Head
Here are some additional tips to keep your shower head functioning smoothly:
- Run hot water through the shower head once a month to clear out any debris.
- Avoid using harsh chemicals that can damage the internal components.
- Consider upgrading to a high-quality shower head for better performance and durability.
FAQs About Shower Head Leaks
Q: Can I fix a leaking shower head without replacing it?
A: Absolutely! Most leaks can be fixed by replacing worn-out parts or cleaning mineral buildup. Replacing the entire shower head should only be considered as a last resort.
Q: How often should I clean my shower head?
A: It’s a good idea to clean your shower head every 3-6 months, depending on the hardness of your water.
Q: What if the leak persists after repairs?
A: If the leak doesn’t stop after following all the steps, it might be time to consult a professional plumber. They can diagnose and fix more complex issues.
Alternative Solutions
While DIY repairs are often the best solution, there are other options available if you’re not comfortable doing it yourself:
- Hire a licensed plumber for professional assistance.
- Invest in a self-cleaning shower head that reduces maintenance needs.
- Consider a complete bathroom renovation to upgrade all fixtures.
Conclusion
Fixing a shower head leaking from head doesn’t have to be a daunting task. With the right tools, knowledge, and a little patience, you can tackle this problem yourself and save both time and money. Remember to address leaks promptly to avoid more significant issues down the line.
So, the next time you notice water dripping from your shower head, don’t panic. Instead, follow the steps outlined in this guide and get that leak sorted out in no time. And hey, if you found this article helpful, don’t forget to share it with your friends and family. After all, who wouldn’t want to become a shower head repair expert?
Happy fixing, and may your showers always be drip-free!