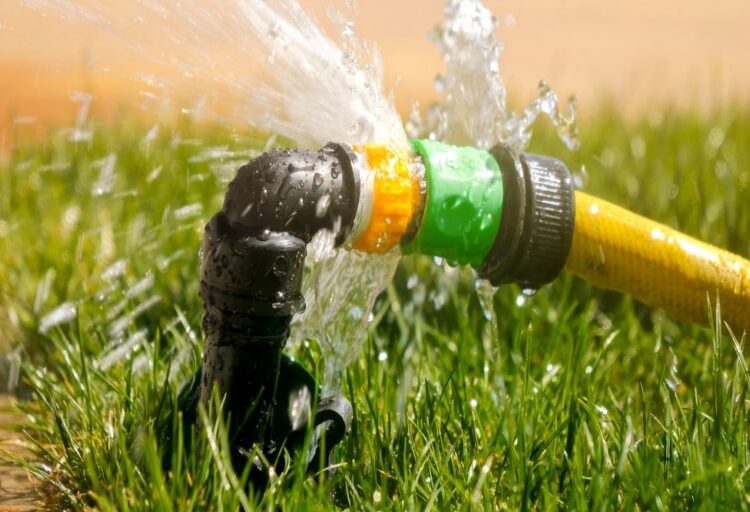
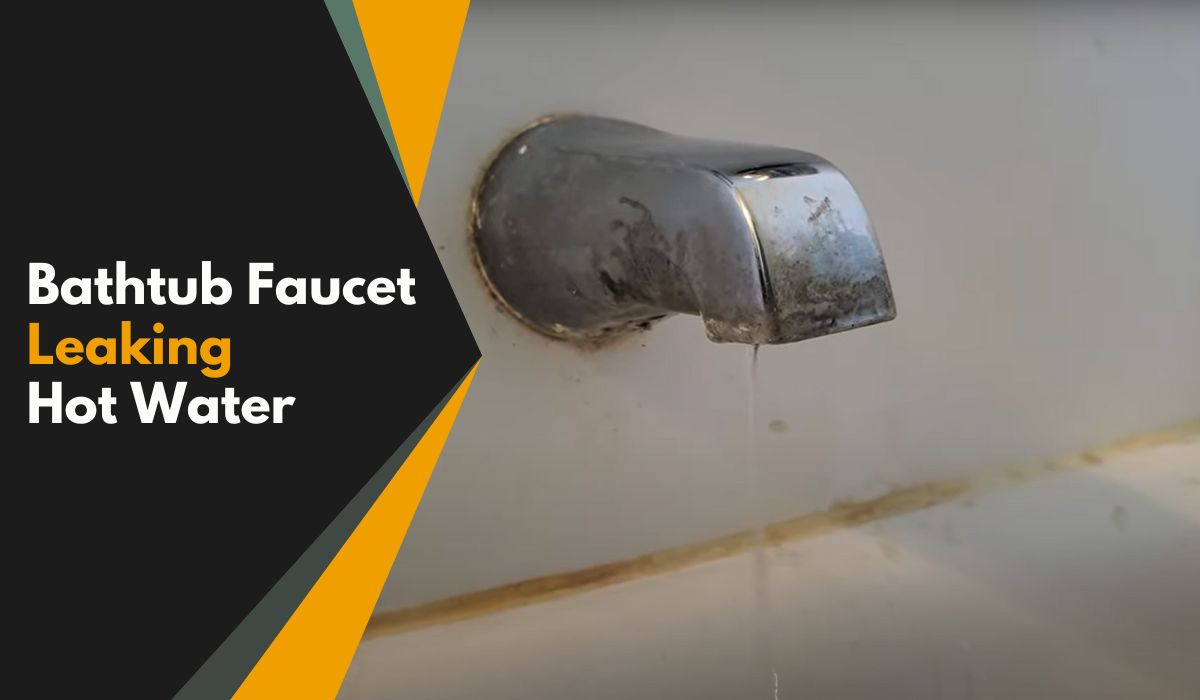
There’s nothing more annoying than the constant drip of an external faucet leaking. It’s like a metronome keeping time with your frustration. But here’s the deal—fixing it doesn’t have to be a nightmare. Whether you’re dealing with a slow drip or a full-on flood, we’ve got you covered. In this guide, we’ll dive deep into why your outdoor faucet might be leaking and how to fix it without calling in the big guns (a.k.a. the plumber).
You’re not alone if you’ve ever stared at that pesky leak and wondered, “Why me?” External faucets are exposed to the elements, and over time, they can wear out. From freezing winters to scorching summers, these fixtures take a beating. But don’t panic. Most leaks are caused by simple issues that you can tackle yourself with the right tools and a bit of know-how.
By the end of this article, you’ll have the confidence to diagnose and repair your external faucet leaking problem. And who knows? You might even save yourself a pretty penny in the process. So grab your toolkit, pour yourself a cup of coffee, and let’s get to work. Your leak doesn’t stand a chance.
Read also:Introducing The Luxmovies New Site
Table of Contents
- Common Causes of External Faucet Leaking
- Tools You’ll Need to Fix the Leak
- DIY Steps to Fix an External Faucet Leak
- Preventive Maintenance Tips
- Winterizing Your Faucet
- When to Replace the Faucet
- Cost of Fixing an External Faucet Leak
- Different Types of External Faucets
- Environmental Impact of Leaking Faucets
- When to Call a Professional
Common Causes of External Faucet Leaking
Before we dive into the solutions, it’s important to understand what might be causing your external faucet to leak in the first place. Think of it like a detective story—every leak has a culprit. Here are some of the most common suspects:
- Worn-Out Washer: The washer inside your faucet can deteriorate over time, leading to leaks. This is one of the easiest fixes and often the root cause of most leaks.
- Loose Connections: Over time, the connections between the faucet and the water supply line can loosen, causing water to seep out. Tightening them up can solve the problem.
- Corrosion: Exposure to the elements can cause corrosion, especially in older faucets. If your faucet is rusted or damaged, it may need to be replaced.
- Freeze Damage: If you live in an area where temperatures drop below freezing, your pipes and faucets can freeze and crack. This is a common issue during the winter months.
Knowing the cause of your leak is half the battle. Once you’ve identified the problem, you can move on to fixing it. Let’s take a closer look at the tools you’ll need to get the job done.
Tools You’ll Need to Fix the Leak
Fixing an external faucet leaking doesn’t require a fancy toolkit. In fact, chances are you already have most of what you need lying around the house. Here’s a quick rundown of the essentials:
- Wrench: A basic wrench will come in handy for tightening or loosening connections.
- Screwdriver: Whether it’s flathead or Phillips, a screwdriver is crucial for accessing the internal parts of your faucet.
- Replacement Washers: These are inexpensive and can be found at any hardware store. Make sure to get the right size for your faucet.
- Teflon Tape: This magical tape helps seal connections and prevent leaks. It’s a must-have for any DIY plumbing project.
Having the right tools makes all the difference. Now that you’re equipped, let’s move on to the step-by-step process of fixing your leak.
DIY Steps to Fix an External Faucet Leak
Step 1: Turn Off the Water Supply
This is the most important step. Before you start tinkering with your faucet, make sure to turn off the water supply. Most external faucets have a shut-off valve nearby. If you can’t find one, you may need to turn off the main water supply to your home.
Read also:T33n Leaks 2024 Latest Updates
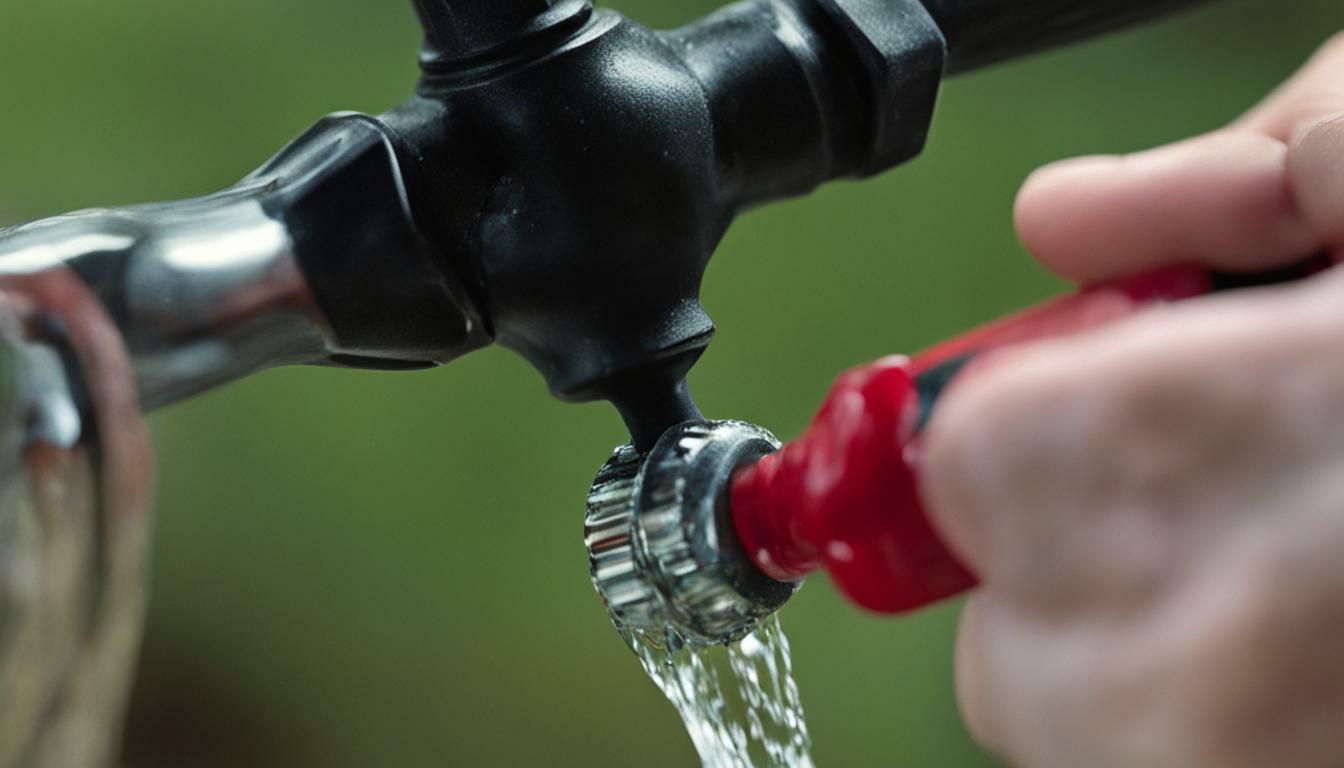
Step 2: Disassemble the Faucet
Using your wrench and screwdriver, carefully disassemble the faucet. Start by removing the handle, then unscrew the packing nut to access the stem. Be gentle—you don’t want to damage any parts.
Step 3: Inspect the Washer
Once you’ve removed the stem, check the washer for signs of wear and tear. If it’s cracked or worn out, replace it with a new one. This is often the source of the leak.
Step 4: Reassemble the Faucet
Once you’ve replaced the washer, carefully reassemble the faucet. Make sure everything is tightened securely, but don’t overdo it—you don’t want to strip the threads.
Step 5: Test for Leaks
Turn the water supply back on and test the faucet. If the leak is gone, congratulations—you’ve fixed it! If not, it may be time to investigate further.
Fixing an external faucet leaking isn’t rocket science, but it does require attention to detail. Now that you’ve tackled the repair, let’s talk about how to prevent future leaks.
Preventive Maintenance Tips
They say prevention is the best cure, and that’s especially true when it comes to plumbing. Here are some tips to keep your external faucet in tip-top shape:
- Regular Inspections: Check your faucet periodically for signs of wear and tear. Catching a problem early can save you a lot of hassle down the road.
- Clean the Aerator: The aerator at the end of your faucet can get clogged with debris. Remove it and clean it out regularly to ensure proper water flow.
- Apply Teflon Tape: Use Teflon tape on all threaded connections to create a tight seal. This simple step can prevent leaks before they start.
A little maintenance goes a long way. But what about those harsh winter months? Let’s talk about how to winterize your faucet.
Winterizing Your Faucet
If you live in a cold climate, winterizing your external faucet is a must. Freezing temperatures can cause pipes to burst, leading to costly repairs. Here’s how to protect your faucet:
- Install a Faucet Cover: These insulated covers are designed to keep your faucet warm during the winter months. They’re cheap and easy to install.
- Drain the Pipes: Before the first frost, make sure to drain any water from your outdoor pipes. This will prevent ice from forming and causing damage.
- Insulate the Pipes: Use foam pipe insulation to protect your pipes from the cold. It’s a simple and effective way to keep them safe.
Winterizing your faucet is a small investment that can save you big money. Now, let’s talk about when it’s time to replace the faucet altogether.
When to Replace the Faucet
Sometimes, no matter how hard you try, a faucet just can’t be fixed. Here are some signs that it’s time to replace your external faucet:
- Corrosion: If your faucet is heavily rusted or corroded, it’s probably beyond repair.
- Cracks: Cracks in the faucet body can’t be fixed and will only get worse over time.
- Age: If your faucet is old and outdated, it may be time to upgrade to a more modern model.
Replacing a faucet is a straightforward process, but it does require some effort. If you’re not comfortable doing it yourself, don’t hesitate to call in a professional.
Cost of Fixing an External Faucet Leak
One of the biggest concerns people have when dealing with a leak is the cost. The good news is that fixing an external faucet leaking is usually pretty affordable. Here’s a breakdown of the potential costs:
- DIY Repair: If you do it yourself, the cost can be as low as $5–$20 for replacement parts.
- Professional Repair: Hiring a plumber can cost anywhere from $50–$150, depending on the complexity of the job.
- Faucet Replacement: Replacing the entire faucet can cost between $20–$100 for the faucet itself, plus labor if you hire a professional.
As you can see, tackling the repair yourself can save you a significant amount of money. But remember, if the job is beyond your skill level, it’s always better to call in an expert.
Different Types of External Faucets
Not all external faucets are created equal. Here’s a quick look at some of the most common types:
- Compression Faucets: These use a washer to control water flow and are the most common type of external faucet.
- Ball Faucets: These use a ball-shaped mechanism to control water flow and are often found in kitchens.
- Ceramic Disk Faucets: These use ceramic disks to control water flow and are known for their durability.
Understanding the type of faucet you have can help you troubleshoot and repair it more effectively. Now, let’s talk about the environmental impact of leaking faucets.
Environmental Impact of Leaking Faucets
Did you know that a single leaking faucet can waste up to 3,000 gallons of water per year? That’s a lot of wasted resources. Here’s why fixing your leak is not just good for your wallet, but also for the planet:
- Water Conservation: Fixing leaks helps conserve water, which is essential for maintaining healthy ecosystems.
- Reduced Energy Use: Less water usage means less energy is required to treat and transport water, reducing your carbon footprint.
- Lower Utility Bills: Fixing leaks can significantly reduce your water bill, saving you money in the long run.
Every drop counts when it comes to protecting our planet. Now, let’s talk about when it’s time to call in the professionals.
When to Call a Professional
While many faucet repairs can be tackled by the average homeowner, there are times when it’s best to leave the job to the experts. Here are some signs that it’s time to call a plumber:
- Complex Repairs: If the repair involves multiple components or requires specialized tools, a plumber may be your best bet.
- Persistent Leaks: If you’ve tried everything and the leak persists, it’s time to bring in the pros.
- Water Damage: If the leak has caused significant water damage, a plumber can assess the situation and make the necessary repairs.
Don’t hesitate to call in a professional if you’re unsure about tackling the repair yourself. Your peace of mind is worth the investment.
Kesimpulan
Fixing an external faucet leaking doesn’t have to be a daunting task. With the right tools, a bit of patience, and a willingness to learn, you can tackle most repairs yourself. Remember to turn off the water supply, inspect the washer, and tighten all connections. And if all else fails, don’t be afraid to call in a professional.
We hope this guide has given you the confidence to take on your next plumbing project. If you found this article helpful, don’t forget to share it with your friends and family. Together, we can save water, money, and the planet—one drip at a time.
So, what are you waiting