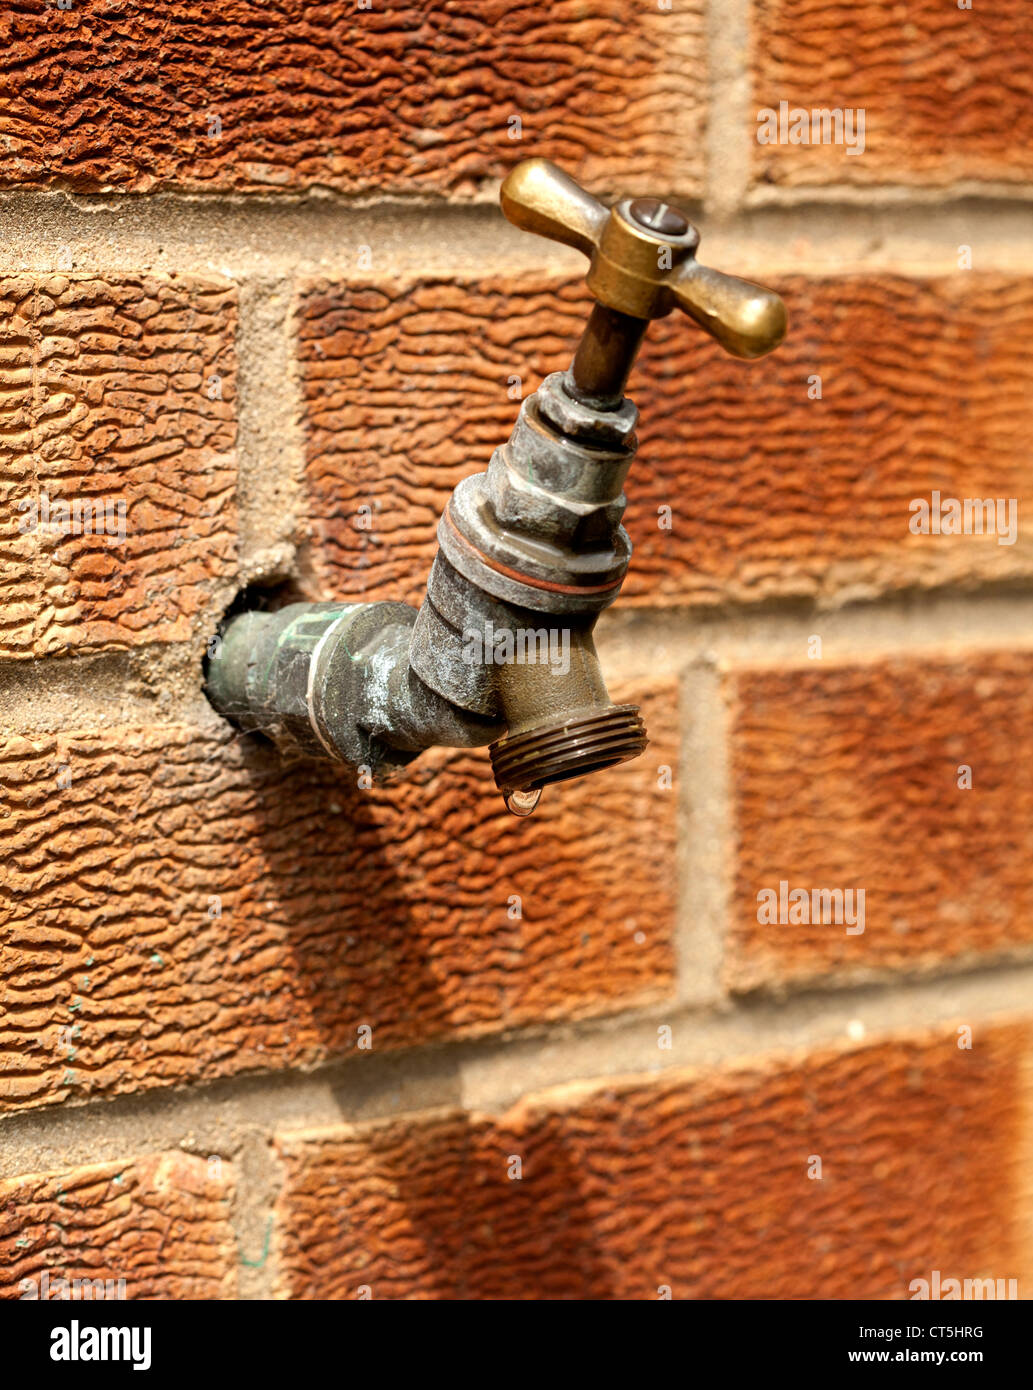
Have you ever noticed that your outdoor tap has been dripping non-stop? Well, let me tell ya, it’s not just annoying—it can also waste gallons of water and cost you extra bucks on your utility bills. A leaking outdoor tap might seem like a minor issue, but it could lead to bigger plumbing problems down the road. So, if you’re wondering how to fix leaking outdoor tap, you’ve come to the right place!
Now, before we dive deep into the nitty-gritty of fixing your tap, let’s face it—most people avoid these kinds of DIY projects because they think it’s too complicated. But here’s the thing: with a little bit of guidance and the right tools, you can handle this job like a pro. You don’t need to call a plumber unless it’s absolutely necessary.
In this article, we’ll walk you through everything you need to know about fixing a leaking outdoor tap. From identifying the problem to performing the repairs, we’ve got you covered. So grab your tools, put on your handyman hat, and let’s get to work!
Read also:Skymovies Hd In Free Movies Online Latest Releases
Table of Contents
- Understanding the Problem: Why Do Taps Leak?
- Essential Tools You’ll Need
- How to Diagnose the Issue
- Common Problems with Outdoor Taps
- Step-by-Step Guide to Fixing a Leaking Tap
- Tips to Prevent Future Leaks
- How Much Does It Cost to Fix a Leaking Tap?
- When Should You Call a Professional?
- The Environmental Impact of Leaky Taps
- Conclusion: Take Action Today!
Understanding the Problem: Why Do Taps Leak?
Before we start fixing the problem, it’s important to understand why taps leak in the first place. A leaking outdoor tap isn’t always caused by old age or poor maintenance. Sometimes, it’s due to simple issues that can be easily resolved. Here are some common reasons why your tap might be leaking:
- Worn-out washers
- Corroded valve seats
- Loose connections
- Broken O-rings
- Freezing weather damage
Now, let’s talk about the most common culprit: worn-out washers. A washer is a small rubber or plastic piece inside the tap that helps create a tight seal. Over time, these washers can wear out or become misshapen, causing the tap to drip. Don’t worry, replacing a washer is super easy and won’t cost you much.
What About Corroded Valve Seats?
Another common issue is corroded valve seats. These are the parts of the tap that the washer presses against to stop the flow of water. If the valve seat is damaged or corroded, it can cause leaks. To fix this, you’ll need to replace the valve seat, which is also a straightforward process.
Essential Tools You’ll Need
Before you start working on your leaking outdoor tap, make sure you have the right tools. Here’s a list of essential tools and materials you’ll need:
- Adjustable wrench
- Flathead screwdriver
- Phillips screwdriver
- Replacement washers
- O-ring seals
- Pipe thread tape
- Plumber’s grease
Pro tip: Always keep spare washers and O-rings on hand. They’re inexpensive and can save you a trip to the hardware store. Plus, they come in handy for other plumbing repairs around the house.
How to Diagnose the Issue
Diagnosing the problem is half the battle. Here’s how you can identify what’s causing your outdoor tap to leak:
Read also:Latest Kannada Movies Download Movierulzcom
- Turn off the water supply to the tap. This is crucial to prevent water from gushing out while you’re working.
- Inspect the tap for visible damage, such as cracks or rust.
- Check the connections between the tap and the pipes. Are they loose or corroded?
- Disassemble the tap carefully and examine the internal components, including the washer, O-ring, and valve seat.
By following these steps, you’ll be able to pinpoint the exact cause of the leak. Once you know what’s wrong, you can move on to fixing it.
Pro Tip: Always Have a Backup Plan
If you’re unsure about what you’re doing, don’t hesitate to consult a plumbing guide or watch a few YouTube tutorials. There’s no shame in learning, and it’s better to be safe than sorry.
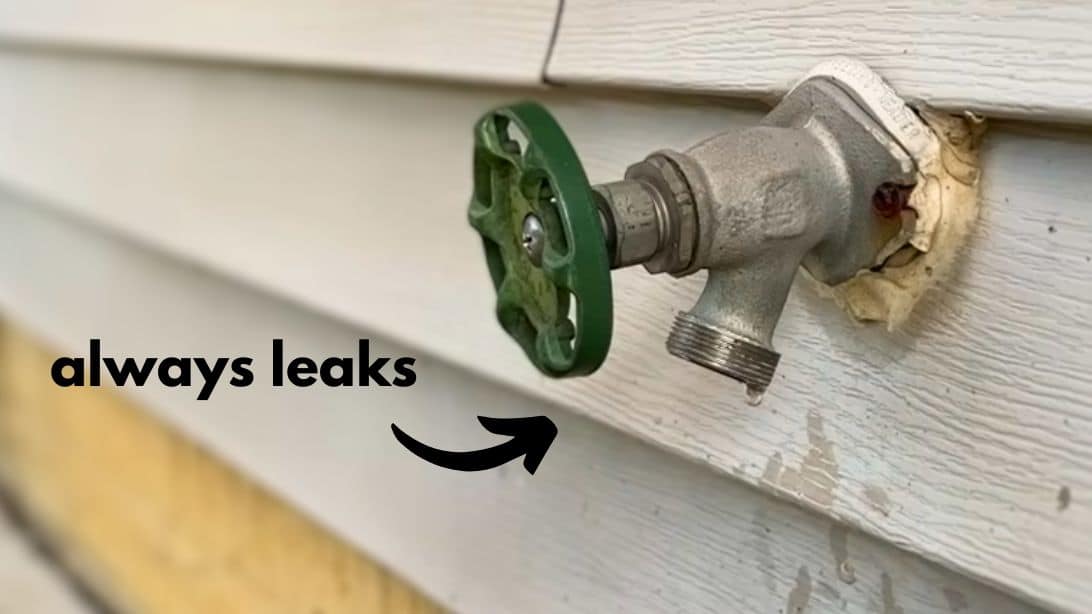
Common Problems with Outdoor Taps
Outdoor taps are exposed to the elements, which makes them more prone to damage. Here are some common problems you might encounter:
- Freezing weather: Cold temperatures can cause pipes to freeze and burst, leading to leaks.
- Mineral buildup: Hard water can cause mineral deposits to form inside the tap, obstructing the flow of water.
- Poor installation: If the tap wasn’t installed correctly in the first place, it’s more likely to develop leaks over time.
It’s important to address these issues as soon as possible to prevent further damage. Regular maintenance can also help extend the lifespan of your outdoor tap.
How to Protect Your Tap from Freezing Weather
One of the best ways to protect your outdoor tap from freezing weather is to insulate it. You can buy tap covers or pipe insulation from your local hardware store. Additionally, make sure to disconnect and drain any garden hoses during the colder months.
Step-by-Step Guide to Fixing a Leaking Tap
Now that you’ve diagnosed the problem, it’s time to fix it. Follow these step-by-step instructions to repair your leaking outdoor tap:
Step 1: Turn Off the Water Supply
Make sure to turn off the water supply to the tap before you start working. This will prevent water from gushing out while you’re repairing the tap. Look for the shut-off valve near the tap and turn it clockwise to close it.
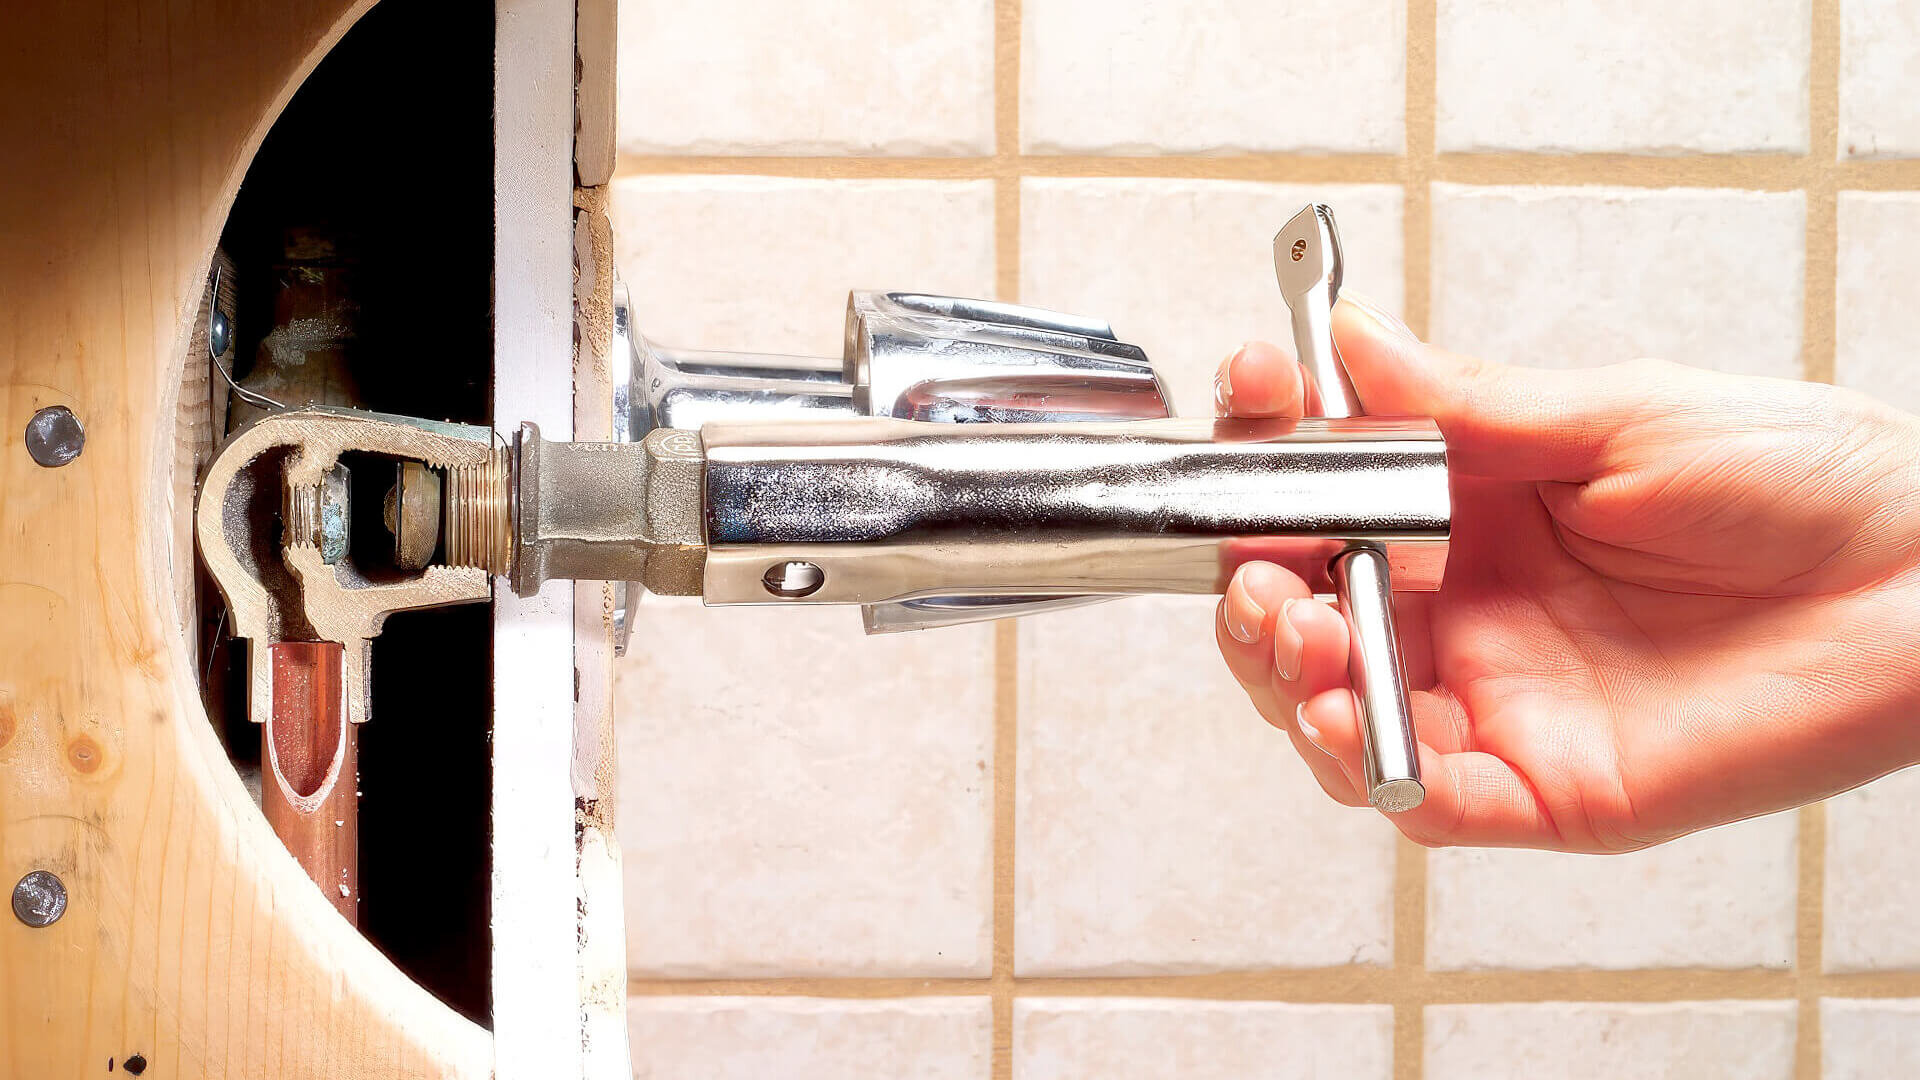
Step 2: Disassemble the Tap
Using an adjustable wrench, remove the handle of the tap. Be careful not to scratch the finish. Once the handle is off, unscrew the retaining nut to access the internal components.
Step 3: Inspect and Replace the Washer
Check the washer for signs of wear and tear. If it’s worn out or misshapen, replace it with a new one. Make sure to use a washer that matches the size and type of the old one.
Step 4: Check the O-Ring
The O-ring is another common cause of leaks. If it’s damaged or missing, replace it with a new one. Apply a small amount of plumber’s grease to the O-ring before reassembling the tap.
Step 5: Reassemble the Tap
Once you’ve replaced the necessary parts, reassemble the tap in the reverse order. Make sure everything is tightened securely, but don’t over-tighten, as this can cause damage.
Step 6: Test the Tap
Turn the water supply back on and test the tap to ensure the leak has been fixed. If the tap is still leaking, you may need to repeat the process or consult a professional.
Tips to Prevent Future Leaks
Prevention is always better than cure. Here are some tips to help you prevent future leaks:
- Regularly inspect your outdoor tap for signs of wear and tear.
- Keep the area around the tap clean and free from debris.
- Use pipe thread tape on all threaded connections to ensure a tight seal.
- Disconnect garden hoses during the winter months to prevent freezing.
By following these tips, you can significantly reduce the risk of leaks and extend the lifespan of your outdoor tap.
How Much Does It Cost to Fix a Leaking Tap?
The cost of fixing a leaking outdoor tap depends on several factors, including the severity of the problem and whether you choose to do it yourself or hire a professional. On average, the cost of materials for a DIY repair is around $10 to $20. If you hire a plumber, you can expect to pay anywhere from $100 to $200, depending on the complexity of the job.
Is It Worth Hiring a Plumber?
If you’re confident in your DIY skills, fixing a leaking tap yourself can save you a lot of money. However, if the problem is more complex or you’re unsure about what you’re doing, it’s always best to hire a professional. A plumber can diagnose and fix the issue quickly and efficiently, saving you time and hassle.
When Should You Call a Professional?
While many leaking tap issues can be resolved with a bit of DIY know-how, there are times when it’s best to call in the experts. Here are some signs that it’s time to hire a plumber:
- The leak persists even after replacing the washer and O-ring.
- The tap is severely damaged or corroded.
- You’re unsure about how to proceed with the repair.
Remember, a professional plumber has the expertise and tools to handle even the most complex plumbing issues. Don’t hesitate to reach out if you’re in over your head.
The Environmental Impact of Leaky Taps
Did you know that a single dripping tap can waste up to 20 gallons of water per day? That’s a lot of water down the drain! Fixing a leaking outdoor tap isn’t just about saving money—it’s also about protecting the environment.
By addressing leaks promptly, you can reduce water waste and contribute to a more sustainable future. Plus, conserving water can help lower your utility bills, so it’s a win-win situation.
Conclusion: Take Action Today!
Fixing a leaking outdoor tap might seem intimidating at first, but with the right tools and guidance, it’s a task that anyone can tackle. By following the steps outlined in this article, you can save money, conserve water, and extend the lifespan of your outdoor tap.
So what are you waiting for? Grab your tools and get to work! And don’t forget to share this article with your friends and family. Who knows? You might inspire someone else to take on their own DIY plumbing project.
Have any questions or tips of your own? Leave a comment below and let’s start a conversation. Happy fixing!