Alright, listen up, folks. If you’ve ever dealt with that annoying dripping sound in the middle of the night or noticed water pooling under your sink, you’re not alone. Plumbing leaks are one of the most common household issues, but here’s the kicker—they can escalate from a minor annoyance to a major headache if left unchecked. Plumbing leak repair might sound intimidating, but trust me, with the right knowledge and tools, you can tackle it like a pro. So, let’s dive in and make sure your plumbing woes become a thing of the past.
Now, before we get into the nitty-gritty, let’s address the elephant in the room. Plumbing leaks don’t just waste water—they can also cause serious damage to your home. From mold growth to structural issues, ignoring a leak is like inviting trouble into your house. But don’t panic! Whether you’re dealing with a dripping faucet, a leaking pipe, or even a stubborn toilet, this guide has got you covered. We’ll walk you through everything you need to know about plumbing leak repair, step by step.
One more thing before we move on—this isn’t just about fixing leaks. It’s about empowering you to take control of your home’s plumbing system. By the end of this article, you’ll have the confidence to handle minor repairs yourself, saving both time and money. Ready to roll up those sleeves? Let’s get started!
Read also:Kaitlyn Krems Leaks Shocking Details Revealed
Table of Contents
- Common Plumbing Leaks and Their Causes
- Tools You’ll Need for Plumbing Leak Repair
- DIY Guide: Fixing a Leaky Faucet
- How to Repair a Leaky Pipe
- Dealing with a Leaky Toilet
- Detecting and Fixing Hidden Leaks
- Preventive Measures for Plumbing Leak Repair
- Understanding the Cost of Plumbing Leak Repair
- When to Call a Professional Plumber
- Conclusion: Take Control of Your Plumbing
Common Plumbing Leaks and Their Causes
Let’s start with the basics. Plumbing leaks come in all shapes and sizes, and understanding their causes is the first step toward effective repair. Here are some of the most common leaks you might encounter:
Types of Leaks
- Faucet Leaks: These are usually caused by worn-out washers, O-rings, or cartridges. A dripping faucet might seem harmless, but it can waste gallons of water over time.
- Pipe Leaks: Corrosion, freezing temperatures, and high water pressure are often the culprits behind leaking pipes. If you notice water stains on your walls or ceilings, it’s a sign of a hidden pipe leak.
- Toilet Leaks: A running toilet or water pooling around the base could indicate a problem with the flapper valve, wax ring, or supply line.
Now, here’s the deal—each type of leak requires a different approach, but the good news is that many of them can be fixed with basic tools and a bit of patience. Don’t let the thought of plumbing intimidate you. With the right mindset, you can conquer these issues head-on.
Tools You’ll Need for Plumbing Leak Repair
Before you dive into any plumbing project, it’s essential to have the right tools on hand. Here’s a list of must-haves for plumbing leak repair:
- Wrench (adjustable and pipe)
- Plumbing tape (also known as Teflon tape)
- Plunger
- Channel-lock pliers
- Replacement parts (washers, O-rings, cartridges)
- Bucket (to catch water while working)
- Plastic pipe repair kit (for emergency fixes)
Having these tools ready will save you a ton of time and frustration. Plus, they’re relatively affordable, so you won’t break the bank stocking up. Remember, preparation is key when it comes to plumbing leak repair.
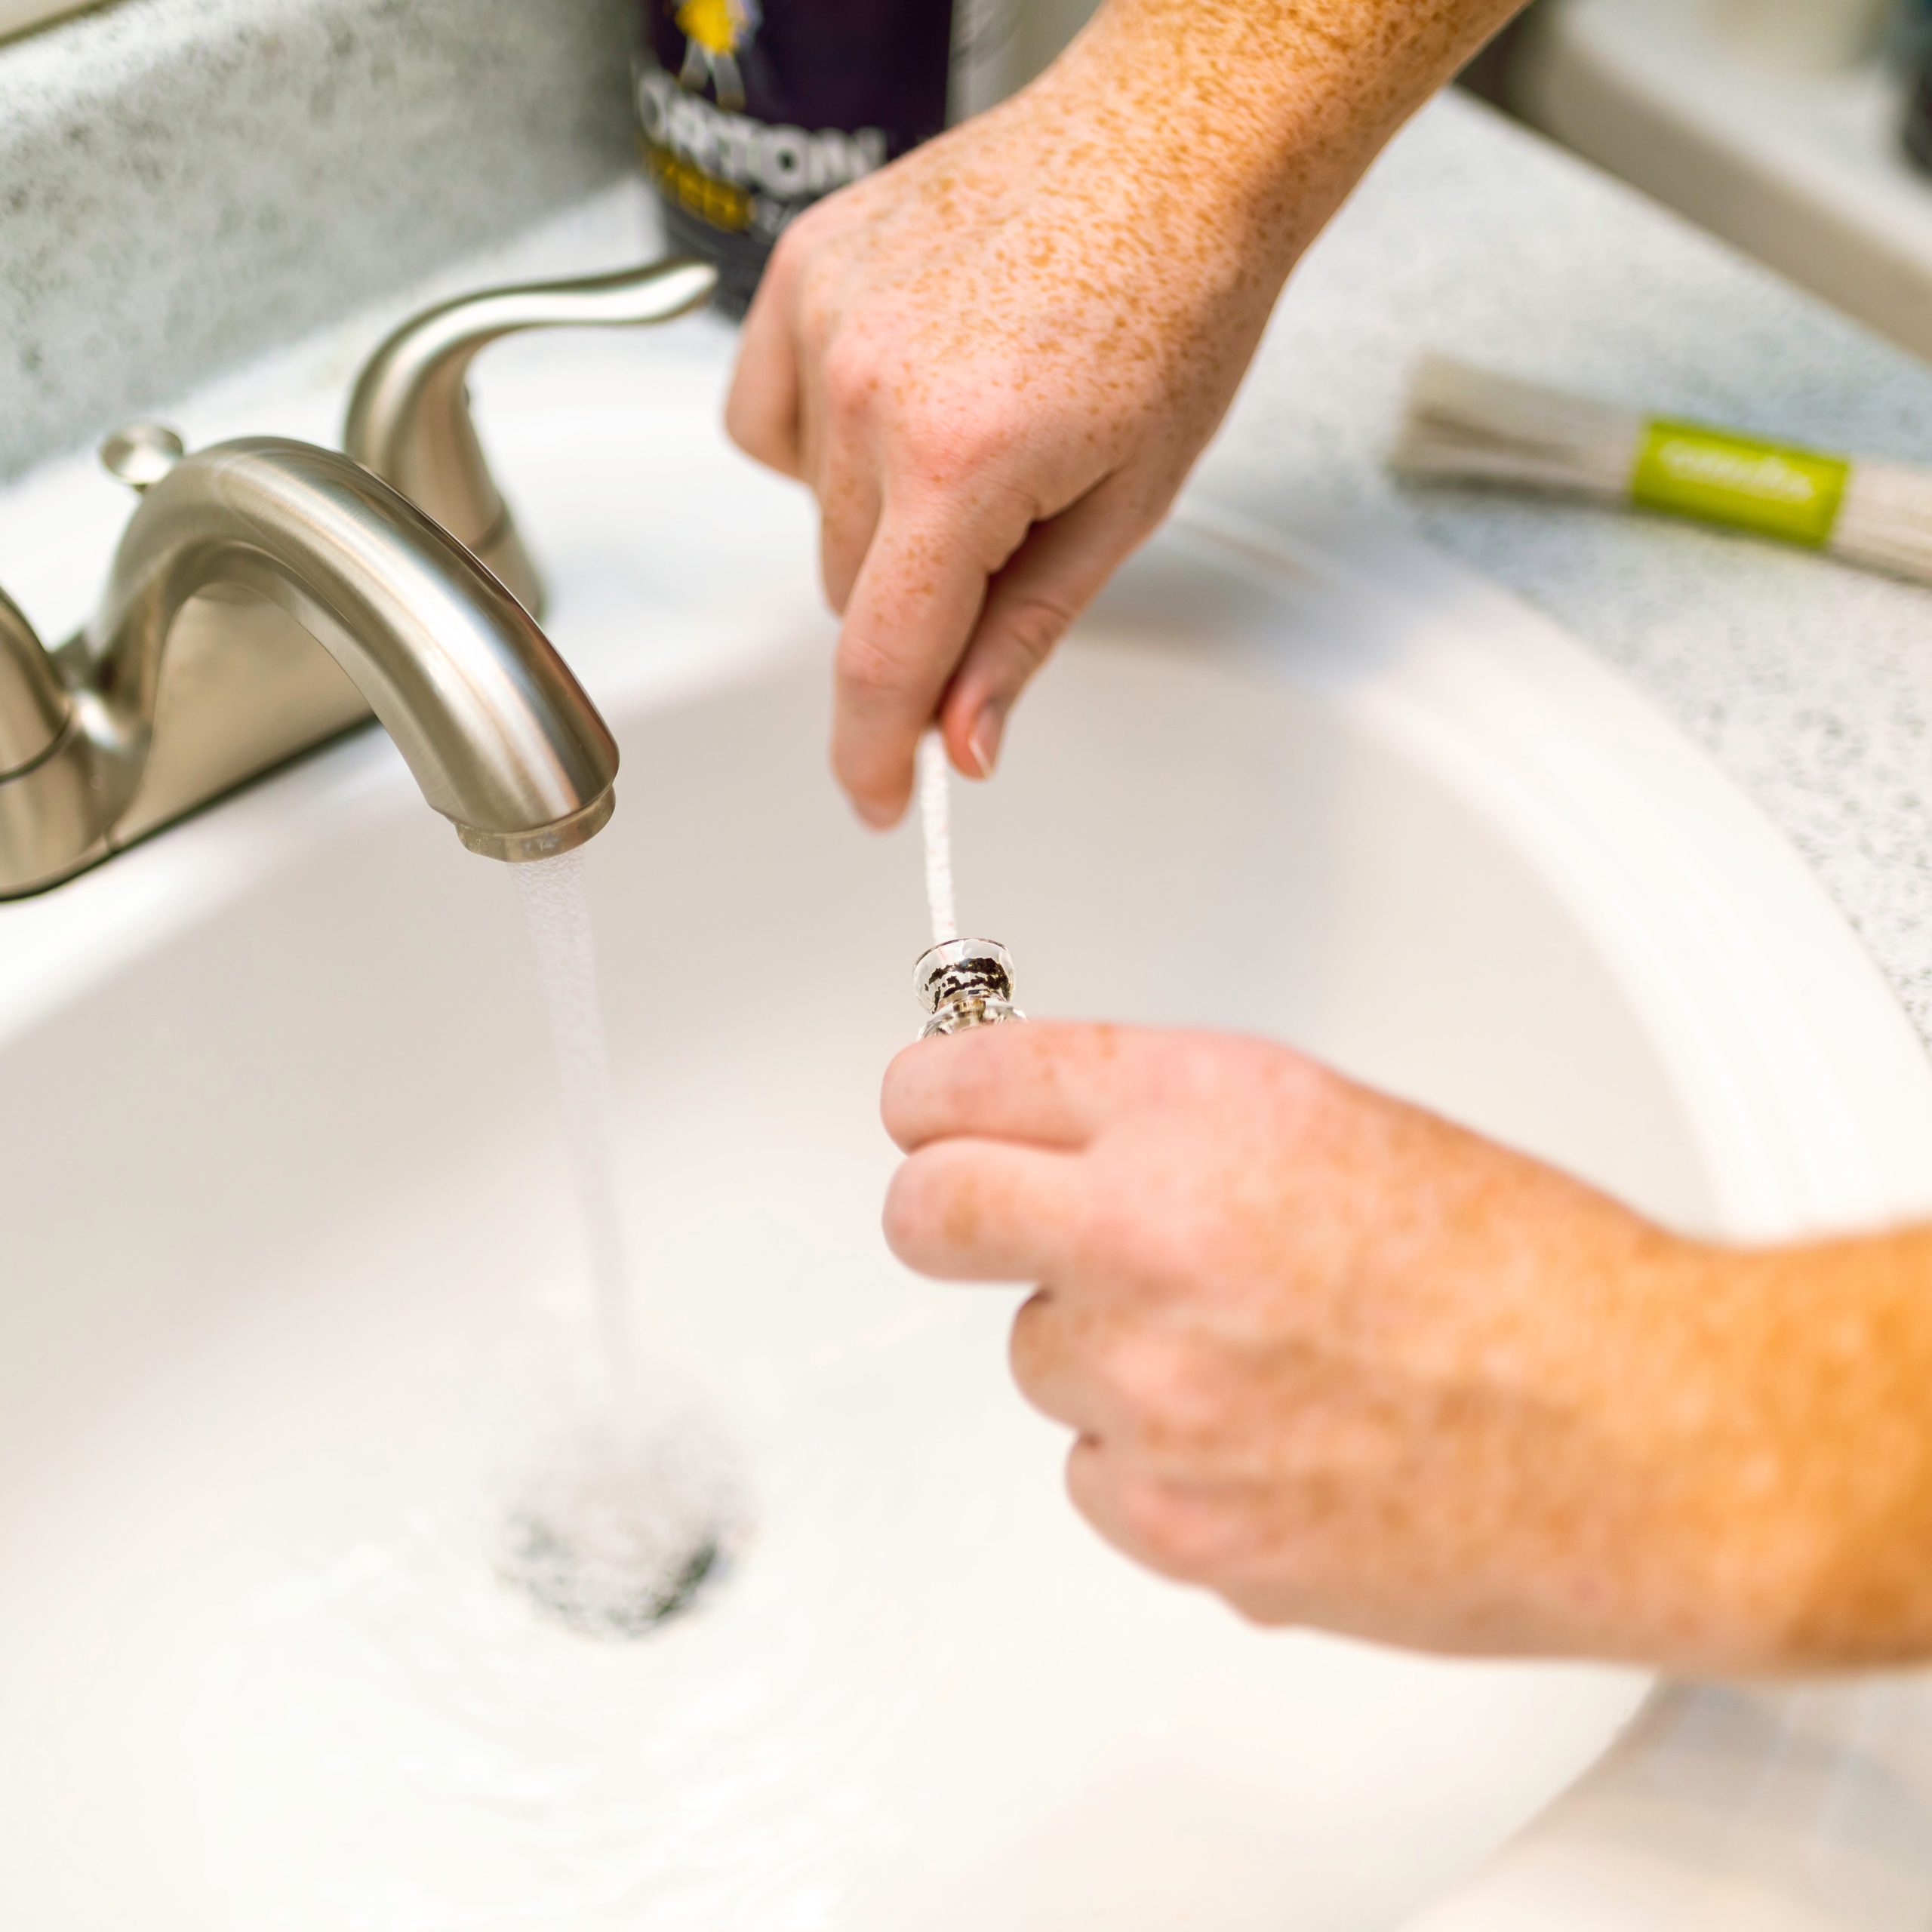
DIY Guide: Fixing a Leaky Faucet
A dripping faucet is one of the most common plumbing issues, and it’s usually an easy fix. Here’s a step-by-step guide to help you tackle this problem:
Step 1: Turn Off the Water Supply
Always start by shutting off the water supply to the faucet. Most faucets have a small valve underneath the sink that controls the flow of water. If you can’t find one, turn off the main water supply to your house.
Read also:Wentworth Millers Wife Everything You Need To Know
Step 2: Disassemble the Faucet
Using your wrench or pliers, carefully remove the handle and any visible parts of the faucet. Take note of how everything fits together so you can reassemble it later.
Step 3: Inspect and Replace Worn Parts
Check the washer, O-ring, and cartridge for signs of wear and tear. Replace any damaged parts with new ones. Tighten everything securely but avoid over-tightening, as this can cause more damage.
And there you have it—a simple fix for a leaky faucet. With a little effort, you can save water and money in the long run.
How to Repair a Leaky Pipe
Leaking pipes can be a bit more challenging, but don’t let that scare you. Here’s how to handle a pipe leak:
Temporary Fixes
If you’re dealing with a small leak, a temporary fix might do the trick. Use a pipe repair kit or duct tape to seal the crack temporarily until you can make a more permanent repair. Just remember, this is only a stopgap solution.
Permanent Solutions
For a lasting fix, you’ll need to replace the damaged section of the pipe. This involves cutting out the affected area and installing a new piece of pipe. If you’re not comfortable doing this yourself, it’s time to call in a professional.
Pro tip: Always use materials that match the existing pipe to ensure a proper fit and avoid future leaks.
Dealing with a Leaky Toilet
A leaky toilet can be a real headache, but it’s usually an easy fix. Here’s what you need to know:
Check the Flapper Valve
A worn-out flapper valve is one of the most common causes of toilet leaks. Replace the flapper if it shows signs of wear or doesn’t seal properly.
Inspect the Wax Ring
If water is pooling around the base of your toilet, the wax ring might be the culprit. Replacing the wax ring is a bit more involved, but it’s still a DIY-friendly project. Just make sure to turn off the water supply and remove the toilet before installing a new wax ring.
With these tips, you’ll have your toilet back in working order in no time.
Detecting and Fixing Hidden Leaks
Hidden leaks are sneaky little devils that can cause significant damage before you even realize they’re there. Here’s how to detect and fix them:
Signs of a Hidden Leak
- Unexplained spikes in your water bill
- Wet spots on walls or ceilings
- Mold or mildew growth in unexpected areas
How to Find the Leak
Start by checking your water meter. Turn off all water sources in your home and note the meter reading. Wait a few hours and check again. If the reading has changed, you likely have a hidden leak.
Once you’ve identified the leak, it’s time to fix it. Depending on the location and severity, you might need professional help for this one.
Preventive Measures for Plumbing Leak Repair
Prevention is always better than cure. Here are some tips to help you avoid plumbing leaks in the future:
- Regularly inspect your plumbing system for signs of wear and tear.
- Install water leak detection devices to catch issues early.
- Insulate pipes in cold areas to prevent freezing.
- Keep an eye on your water pressure and adjust it if necessary.
By taking these proactive steps, you can reduce the risk of leaks and save yourself a lot of hassle down the line.
Understanding the Cost of Plumbing Leak Repair
One of the biggest concerns when it comes to plumbing leak repair is cost. The good news is that many minor repairs can be done on a budget. Here’s a breakdown of potential costs:
DIY Costs
If you’re tackling the repair yourself, the main expenses will be tools and replacement parts. These can range from a few dollars for a new washer to around $20-$50 for a pipe repair kit.
Professional Costs
Hiring a plumber will obviously cost more, but it’s worth it for complex repairs. Expect to pay anywhere from $150 to $500, depending on the nature of the leak and the plumber’s rates.
Remember, the sooner you address a leak, the less it will cost you in the long run.
When to Call a Professional Plumber
While many plumbing leaks can be fixed DIY-style, there are times when it’s best to leave the job to the experts. Here are some scenarios where calling a professional plumber is the smart move:
- The leak is causing structural damage.
- You can’t locate the source of the leak.
- The leak involves gas lines or major water mains.
Don’t hesitate to reach out to a licensed plumber if you’re unsure about handling the repair yourself. Your peace of mind is worth the investment.
Conclusion: Take Control of Your Plumbing
Plumbing leak repair might seem daunting at first, but with the right knowledge and tools, you can handle most issues on your own. From fixing a dripping faucet to detecting hidden leaks, this guide has equipped you with everything you need to become a plumbing pro. Remember, prevention is key, so stay vigilant and address any issues promptly.
Now, it’s your turn. Share this article with your friends and family, leave a comment with your own plumbing tips, or check out our other articles for more home improvement advice. Together, we can keep those leaks at bay and keep our homes running smoothly. Cheers to happy plumbing!