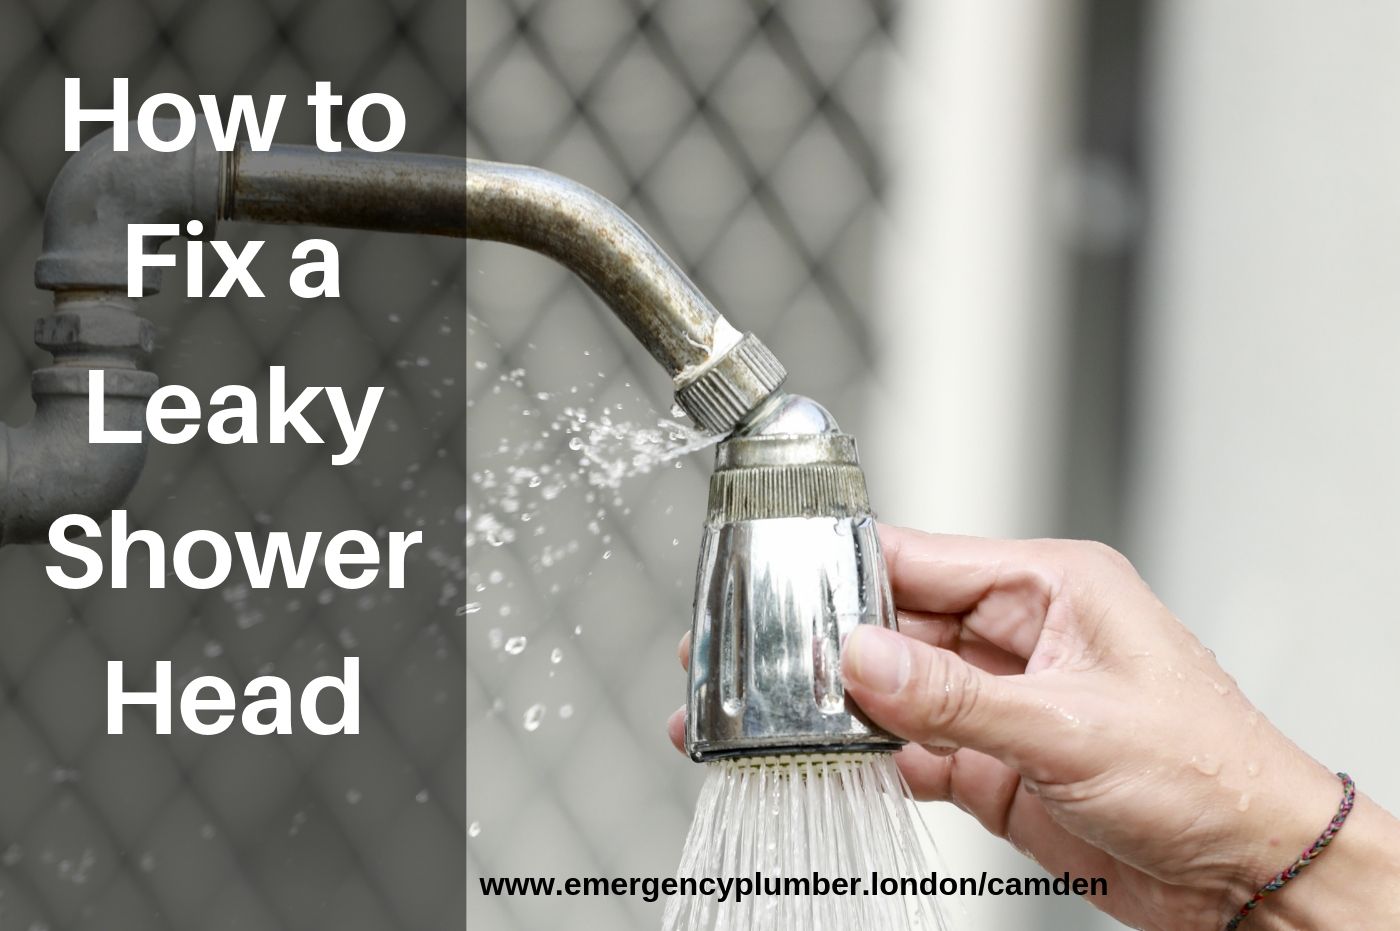
Leaky shower heads are more common than you think, and they can turn into a major headache if left unchecked. Imagine stepping into your morning shower only to find water dripping everywhere except where it should be. Not ideal, right? But here's the good news—you don’t need to call a plumber for every little issue. With a bit of know-how and the right tools, fixing a leaky shower head is totally doable on your own. Let’s dive in and learn how to tackle this pesky problem!
Before we get our hands dirty, it's important to understand why shower heads start leaking in the first place. Sure, it could just be old age, but often it's caused by something simple like a worn-out washer or some mineral buildup. The good thing is, most fixes don’t require you to break the bank or spend hours figuring things out. You’ve got this!
Now, if you're thinking, "Do I really need to bother with fixing it?"—the answer is a big fat yes. A dripping shower head doesn’t just waste water; it can also damage your walls, floors, and even lead to mold issues. So yeah, fixing it sooner rather than later is a smart move. Let's jump into the details and make sure your shower’s back in tip-top shape!
Read also:New Kannada Movies On Movierulz 3 Releases
Table of Contents
- Understanding the Cause of a Leaky Shower Head
- Gathering the Right Tools and Materials
- How to Diagnose the Problem
- Step-by-Step Guide to Fixing a Leaky Shower Head
- Maintenance Tips to Prevent Future Leaks
- Common Mistakes to Avoid
- Preventive Measures for Long-Term Solutions
- How Much Does It Cost to Fix a Shower Head Leak?
- Frequently Asked Questions
- Conclusion: Take Action Today!
Understanding the Cause of a Leaky Shower Head
Let’s start with the basics. Why exactly does your shower head start leaking? Sometimes, it’s as simple as a loose connection or a worn-out O-ring. Other times, it might be mineral deposits clogging up the nozzles. Here’s a quick breakdown:
- Loose Connections: Over time, the connection between the shower arm and the shower head can loosen, leading to leaks.
- Worn-Out Washers or O-Rings: These tiny rubber parts can degrade over time, causing water to escape.
- Mineral Buildup: Hard water leaves behind calcium and lime deposits, which can block water flow and cause leaks.
- Corroded Parts: If your shower head is old, corrosion might be the culprit.
Now that you know what could be causing the leak, it’s time to gather your tools and get ready to fix it!
Gathering the Right Tools and Materials
Fixing a leaky shower head doesn’t require a ton of fancy tools. In fact, most of what you’ll need is probably already lying around your house. Here’s a list of essentials:
- Adjustable wrench
- Plumber’s tape (Teflon tape)
- Replacement washers or O-rings
- Vinegar or descaler for mineral buildup
- Rubber gloves (optional but recommended)
- Towel or rag to catch water
Pro tip: If you're unsure about the size of the washers or O-rings, bring your old ones to the hardware store for an exact match. Easy peasy!
How to Diagnose the Problem
Before jumping into repairs, it’s crucial to identify the source of the leak. Here’s how you can diagnose the issue:
Step 1: Turn Off the Water Supply
Safety first! Make sure to shut off the water supply to avoid any surprises while you’re working. You don’t want to get soaked in the middle of a repair job.
Read also:Luxmovies Netflix Exclusive Streaming Hits
Step 2: Inspect the Shower Head
Take a close look at your shower head. Are there visible cracks or corrosion? Check the connection points for any signs of wear and tear. Don’t forget to inspect the nozzles for mineral buildup.
Step 3: Test the Shower Arm Connection
Use your wrench to gently tighten the connection between the shower arm and the shower head. If the leak persists, it might be time to replace the O-ring or washer.
Once you’ve identified the problem, it’s time to move on to the repair process.
Step-by-Step Guide to Fixing a Leaky Shower Head
Now comes the fun part—actually fixing the leak. Follow these steps carefully:
Step 1: Remove the Shower Head
Using your wrench, unscrew the shower head from the shower arm. Be gentle to avoid damaging the threads. If it’s stuck, try applying some penetrating oil to loosen it up.
Step 2: Clean the Shower Head
Soak the shower head in a bowl of vinegar overnight to dissolve any mineral deposits. Alternatively, you can use a commercial descaler if you prefer. Rinse thoroughly before reassembling.
Step 3: Replace the Washer or O-Ring
Inspect the washer or O-ring inside the shower head. If it’s worn out, replace it with a new one. Make sure it fits snugly to prevent future leaks.
Step 4: Reassemble and Tighten
Reattach the shower head to the shower arm, wrapping the threads with plumber’s tape for a watertight seal. Tighten the connection securely but not too much—you don’t want to strip the threads.
Step 5: Test the Shower
Turn the water back on and check for leaks. If everything looks good, congratulations—you’ve successfully fixed your shower head!
Maintenance Tips to Prevent Future Leaks
Prevention is key when it comes to maintaining a leak-free shower. Here are some tips to keep your shower head in great condition:
- Regularly clean the nozzles to prevent mineral buildup.
- Inspect the connections every few months and tighten if necessary.
- Replace washers and O-rings as part of routine maintenance.
- Consider installing a water softener if you live in an area with hard water.
By staying on top of maintenance, you’ll save yourself from future headaches and potential water damage.
Common Mistakes to Avoid
Even the best of us can make mistakes when tackling DIY repairs. Here are a few common errors to watch out for:
- Over-tightening: This can damage the threads and make the problem worse.
- Using the Wrong Parts: Always double-check the size and type of washers or O-rings.
- Skipping the Plumber’s Tape: It might seem unnecessary, but it’s a crucial step for a watertight seal.
Avoiding these pitfalls will ensure a smoother repair process.
Preventive Measures for Long-Term Solutions
Want to avoid leaks altogether? Here are some long-term solutions to consider:
- Upgrade to a high-quality shower head with better materials.
- Install a whole-house water filtration system to reduce mineral buildup.
- Set up regular maintenance checks as part of your home upkeep routine.
Investing in quality products and preventive measures will pay off in the long run.
How Much Does It Cost to Fix a Shower Head Leak?
The cost of fixing a leaky shower head largely depends on the extent of the damage and whether you choose to DIY or hire a professional. Here’s a rough breakdown:
- DIY Materials: $5-$20 for washers, O-rings, and plumber’s tape.
- Professional Plumber: $100-$200 for labor and parts.
As you can see, tackling the repair yourself can save you a pretty penny. Plus, you’ll gain some handy skills in the process!
Frequently Asked Questions
Q: Can I fix a leaky shower head without tools?
A: While it’s possible to tighten connections by hand, having the right tools will make the job easier and more effective.
Q: How often should I clean my shower head?
A: Aim to clean your shower head every 3-6 months, depending on the hardness of your water.
Q: What if the leak persists after repairs?
A: If the leak doesn’t stop, it might be time to replace the entire shower head or consult a professional plumber.
Conclusion: Take Action Today!
Fixing a leaky shower head is a straightforward task that can save you money and hassle in the long run. By understanding the causes, gathering the right tools, and following a step-by-step guide, you can tackle this problem like a pro. Remember to maintain your shower head regularly to prevent future leaks and enjoy a stress-free shower experience.
So, what are you waiting for? Grab your tools and get to work. And don’t forget to share your success story in the comments below or check out our other DIY guides for more handy tips!